1/26/2026
Introduction
The phrase “batten down the hatches” is a nautical term that refers to the practice aboard a ship of sealing hatches to prevent water from getting below-decks in a storm by using covers secured by strips of material, called battens, firmly attached to the frame of the hatch opening. Other than in Naval lore, I never heard it used during my time in the Navy. A comical representation is shown below.

For this post, it’s the process Linda and I did to prepare the greenhouse for winter weather. It wasn’t easy and necessarily pretty, but it had to get done to protect the plants the best we could.
Last Year
For a frame of reference, by this time last year, we had started 15 or more trays of various plants, and most had, or were beginning to show signs of growth. Last January was pretty mild, temperature-wise, so we didn’t really prepare for what happened in February.
Last February, smack dab in the middle of the month, a cold front came down from Canada with actual temperatures somewhere around -10 degrees and wind chills of -25 degrees. When we heard this storm was coming, we prepared the best we could by putting up plastic to protect the plants and by directing the space heaters to warm up critical areas. The plan worked the first night, suggesting that we were okay. However, the second night killed about half of what we had planted. We were pretty disappointed, but there was nothing else to do but replant, costing both time and money.
This Year
This year, we decided to do something different and began preparing for winter last May. The first thing we did was purchase the heater/fan shown below, so that instead of relying on dangerous space heaters, we had an actual heater designed for a greenhouse.
New Heater

This unit was actually used most of the summer as a fan to keep air circulating around the plants. Special thanks to our friend Andrew, who helped with the electrical installation when my shoulder was bothering me.
As fall was wrapping up, we began to formulate a plan to protect the sizable number of plants we were ending the year with.
Plants we’re trying to overwinter
We had:
- Close to 120 lavender plants
- 100 or so geraniums
- 6 or so pots of curly parsley
- Several mums that we had started from cuttings
- And a lot of petunias that were still blooming and making us happy
In other words, we were full.


Just a sample of the plants we have.
The Plan
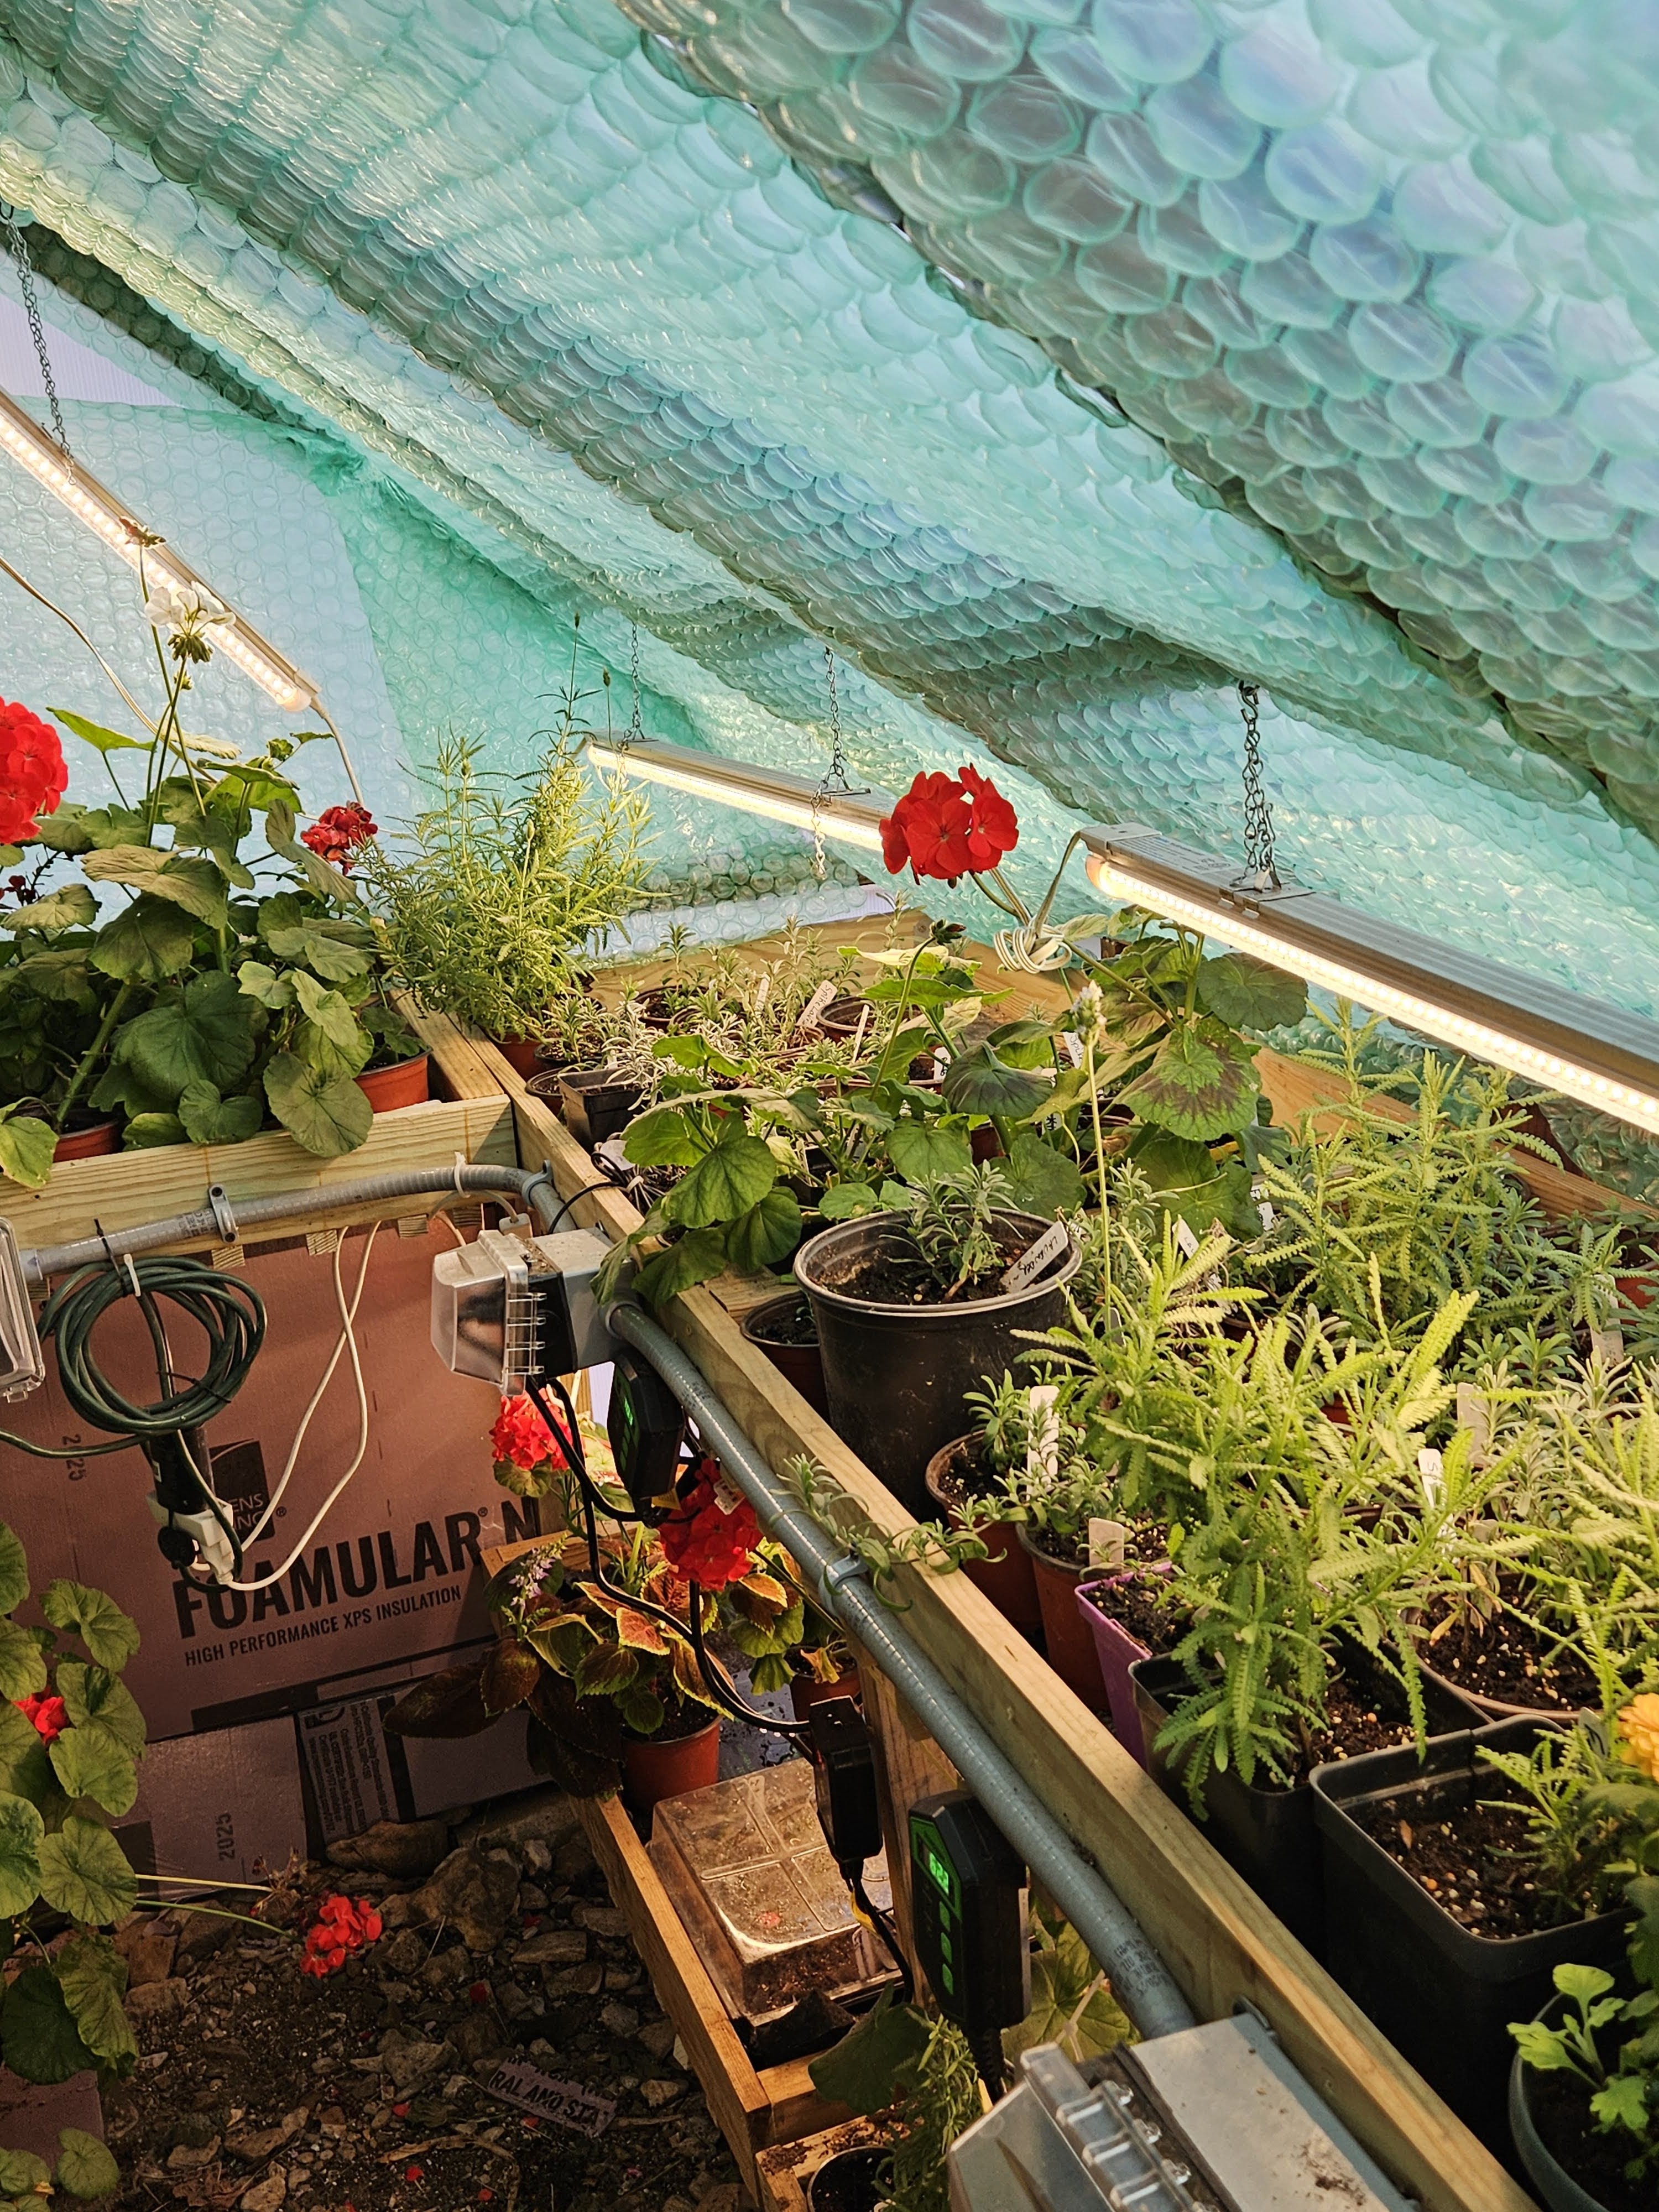
After much discussion and internet research, we decided to try foam-based insulation in the walls and bubble wrap on the sloping sections. We chose the foam-based insulation because it would be easy to cut and, hopefully, easy to install. With the bubble wrap, we were trying to mimic a dead air space to keep the cold and wet off the plants.
Just a few pictures of the installation. We placed the pots that were on the floor on leftover pieces of foam board.


It took a couple of weeks to get all this stuff installed.
We had installed several new shelves, so we needed to get heat mats like the one below. These are a great value. The Amazon link is found in the caption.

Monitoring
A plan is a plan, is a plan, or so I was told in the Navy, and a plan without monitoring is still just a theory, a wish, or however you wish to describe it.
When the rebuild of the greenhouse started, we made sure there was sufficient instrumentation to provide an accurate picture of the conditions inside the greenhouse. And they did.
New Instruments
That said, we added five new shelves with no way to remotely monitor. This led to looking for a different type of instrument and protocol. We landed on using the BLE (Bluetooth Low Energy) protocol, and the instrument shown below.

They are the ThermoPro TP357 Digital Hygrometer Indoor Thermometer and Humidity Meter.
The setup was incredibly easy. As soon as I pulled the tab in the battery compartment, Home Assistant recognized them. I had to supply names and locations.
Graphs
A built-in feature in Home Assistant is the ability to create all kinds and types of graphs. We use three to monitor greenhouse conditions.

This one plots greenhouse, barn, and outside temperatures with an accompanying graph of solar energy. The graph shows that there is about a 40-degree difference between greenhouse temperature and outdoor temperature. This is today’s graph when the outdoor temperature dropped to -7 degrees. The solar energy graph provides an idea of how much this contributes to the greenhouse temperature.
The graph below shows the temperature of the beds inside the greenhouse. The idea is to keep these temperatures above 32 degrees. Last night they got a little cold.

The final graph is one of the various humidity instruments inside the greenhouse. This is more important during the summer, but does provide useful data year-round.

Obviously, graphs don’t prevent bad things from happening, but their value lies in providing an up-to-date record of what the conditions are and insight into what else needs to happen.
Interpreting the data
Last night’s data suggests that we will suffer some losses, but they shouldn’t be catastrophic. And also, we should probably buy and install some more foam-based insulation. Overall, I’m at least pretty happy with the results.
Summary
It’s been good for me to sit down and write out what we’ve done and the results we’re seeing. I hope this was an enjoyable post for everyone.
Leave a Reply